Hi there!
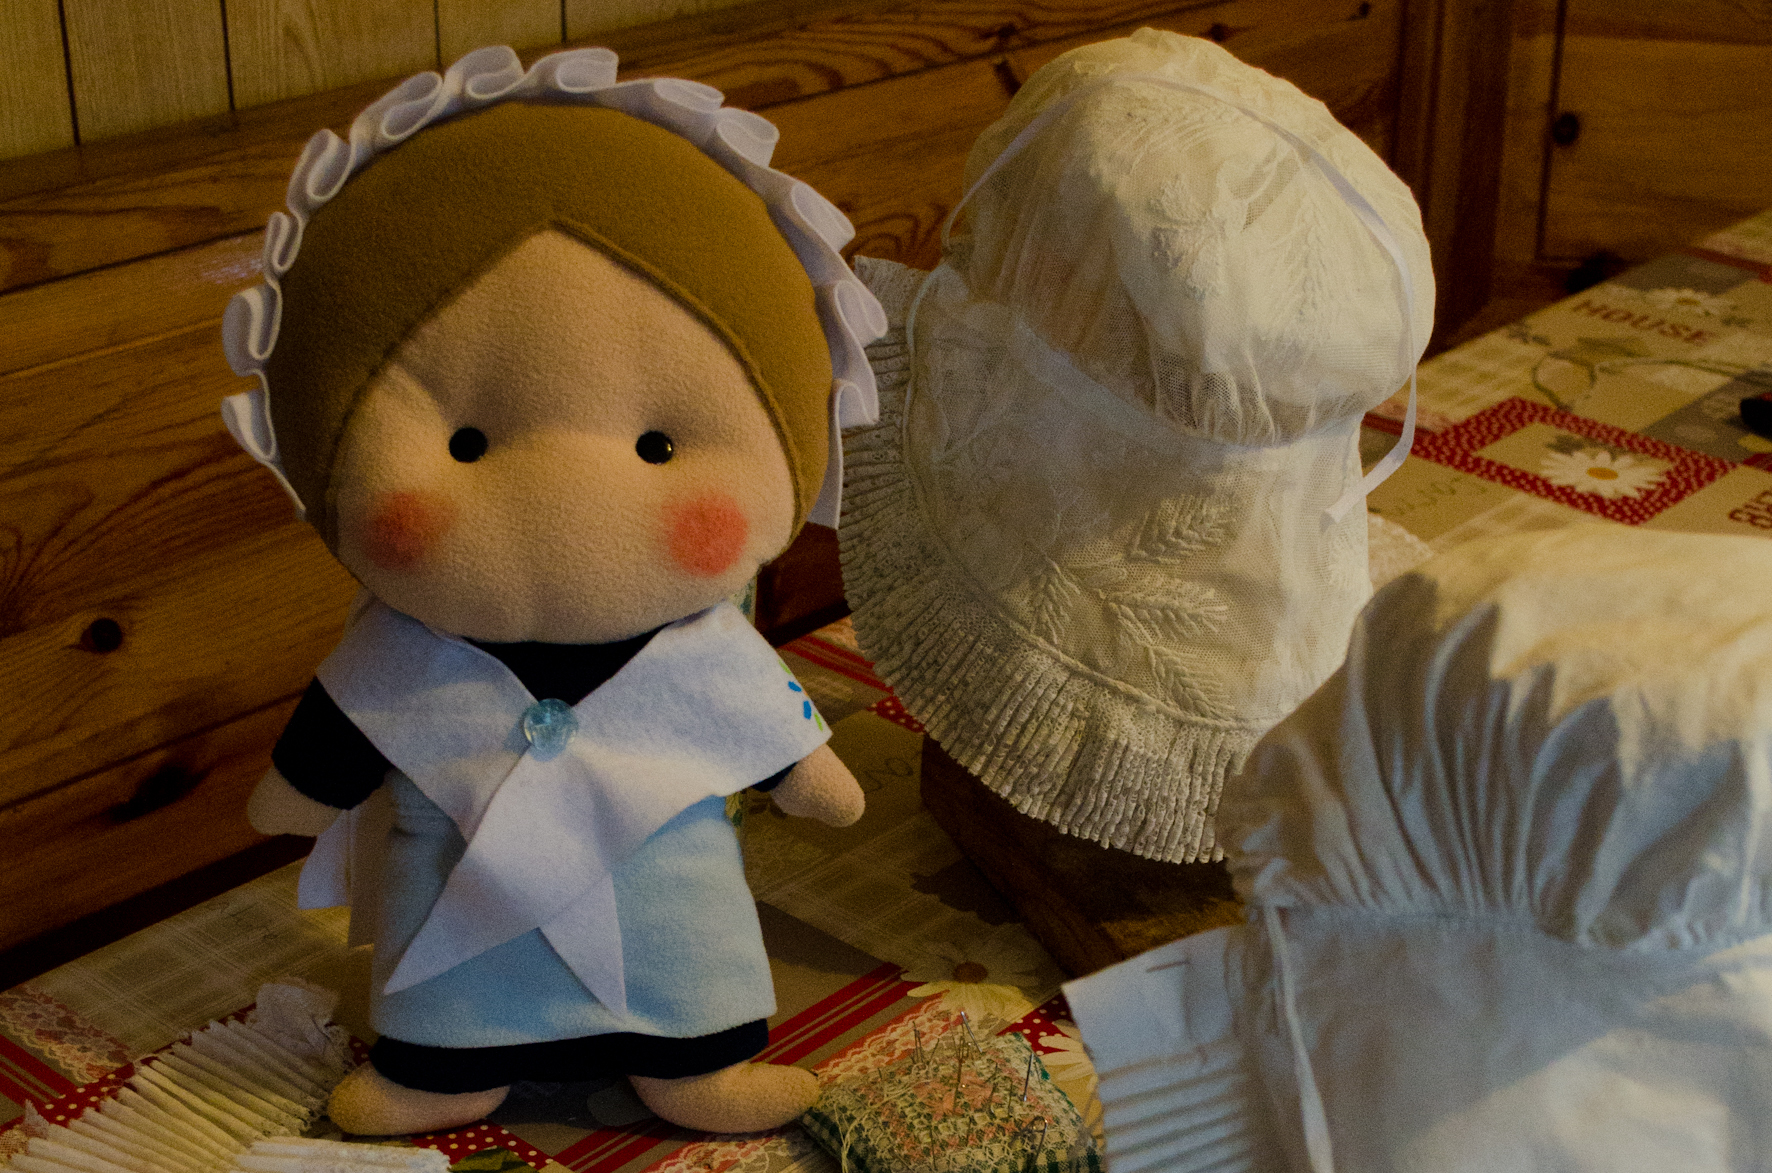
Today I’d like to make you a very special Easter surprise… so I’m about to tell you how bonnets of the Waldensian costume are made! It’s the most peculiar element of the traditional costume, and there are very few people who still know the procedure to create one… I met Mrs. Piera from Villar Pellice, who was so kind in inviting me to her house in order to show us all of the manufacturing stages of the bonnet.

Are you curious? Well, let’s not waste time!
First of all, you have to cut two pieces of cotton (that will be the front side of the bonnet and the one in which the hair will be gathered) that will form the lining of the cap, and then you have to sew them together. In case of old bonnets, these parts can be taken apart, disassembled and washed separately; the lining is boiled in water with very little bleach to remove dirt or old tracks of azure.
The same procedure is repeated by cutting two equal pieces of “san gallo” fabric or embroidered tulle, depending on your taste, that will upholster the lining you just made.
Immediately after 3 strips of lace 2.5 meters long each are cut and then are starched (treated with a mixture of water and starch that stiffens them).
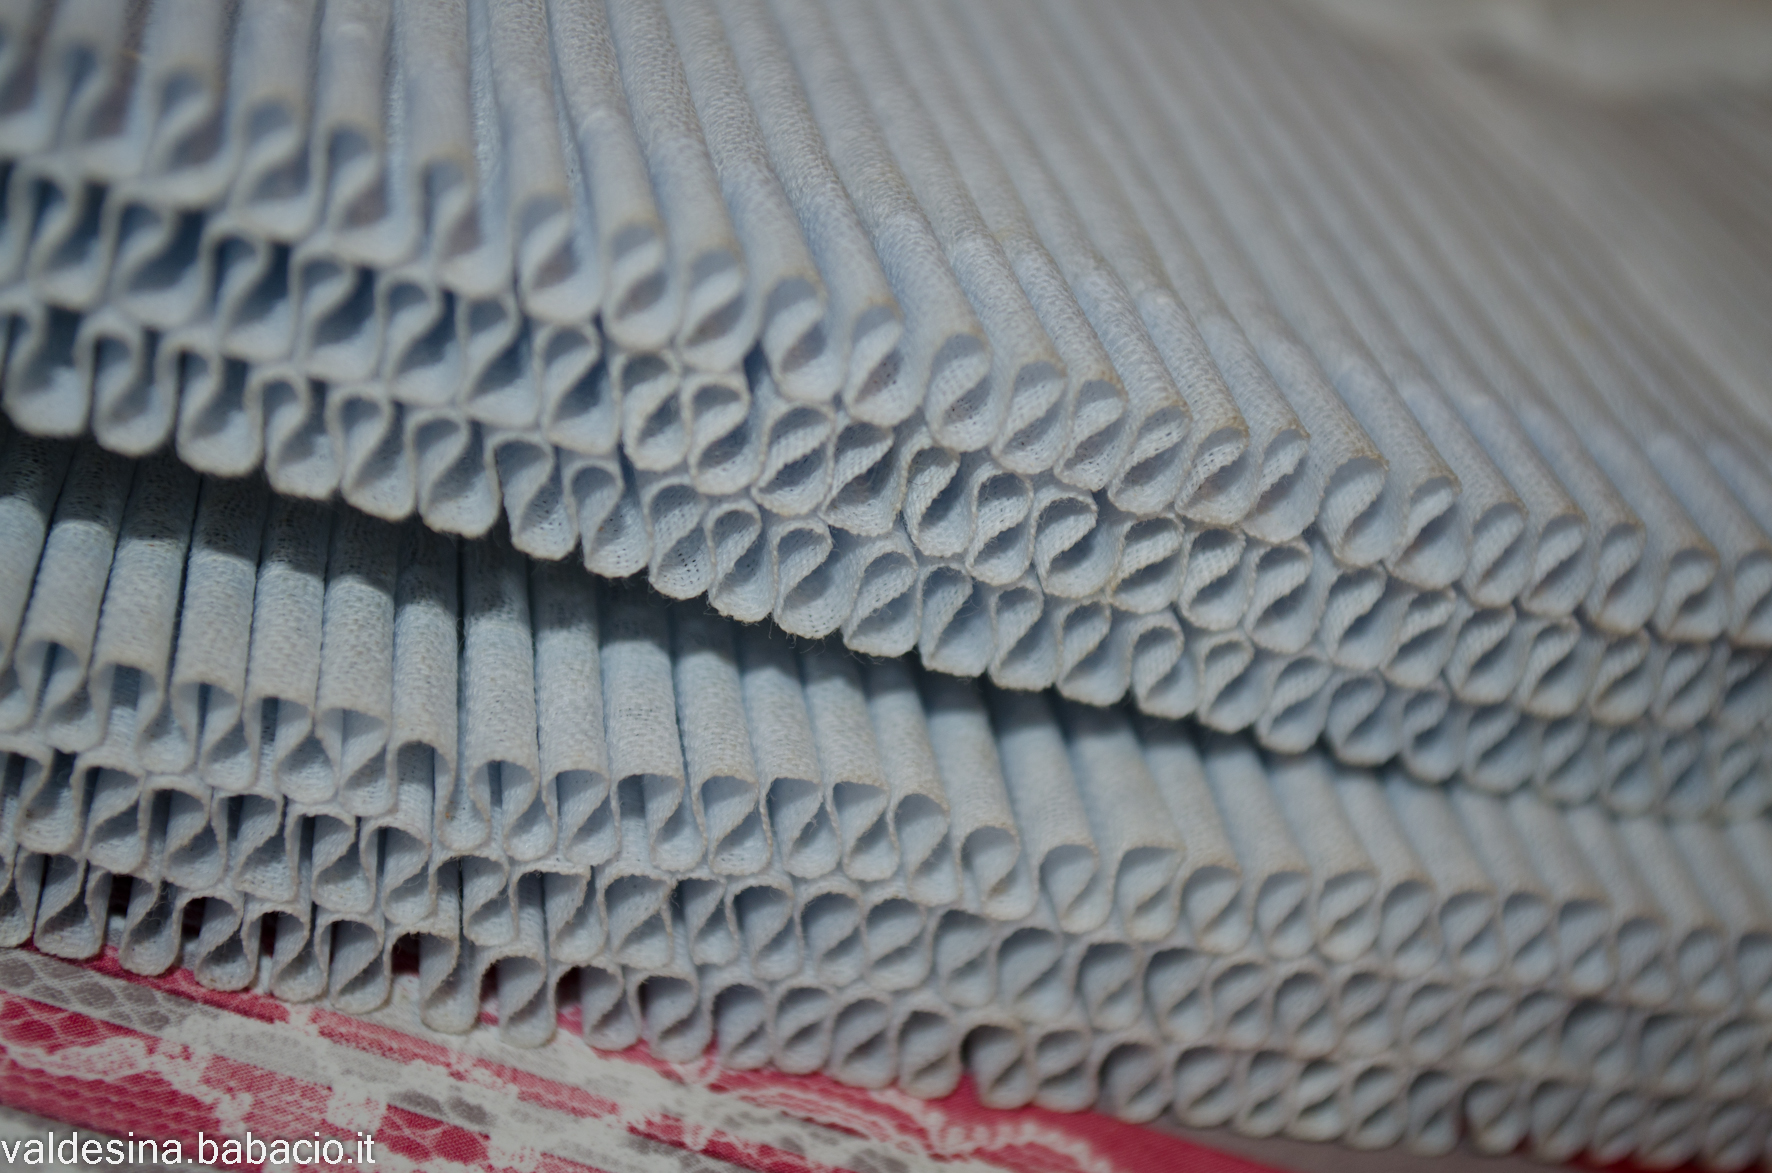
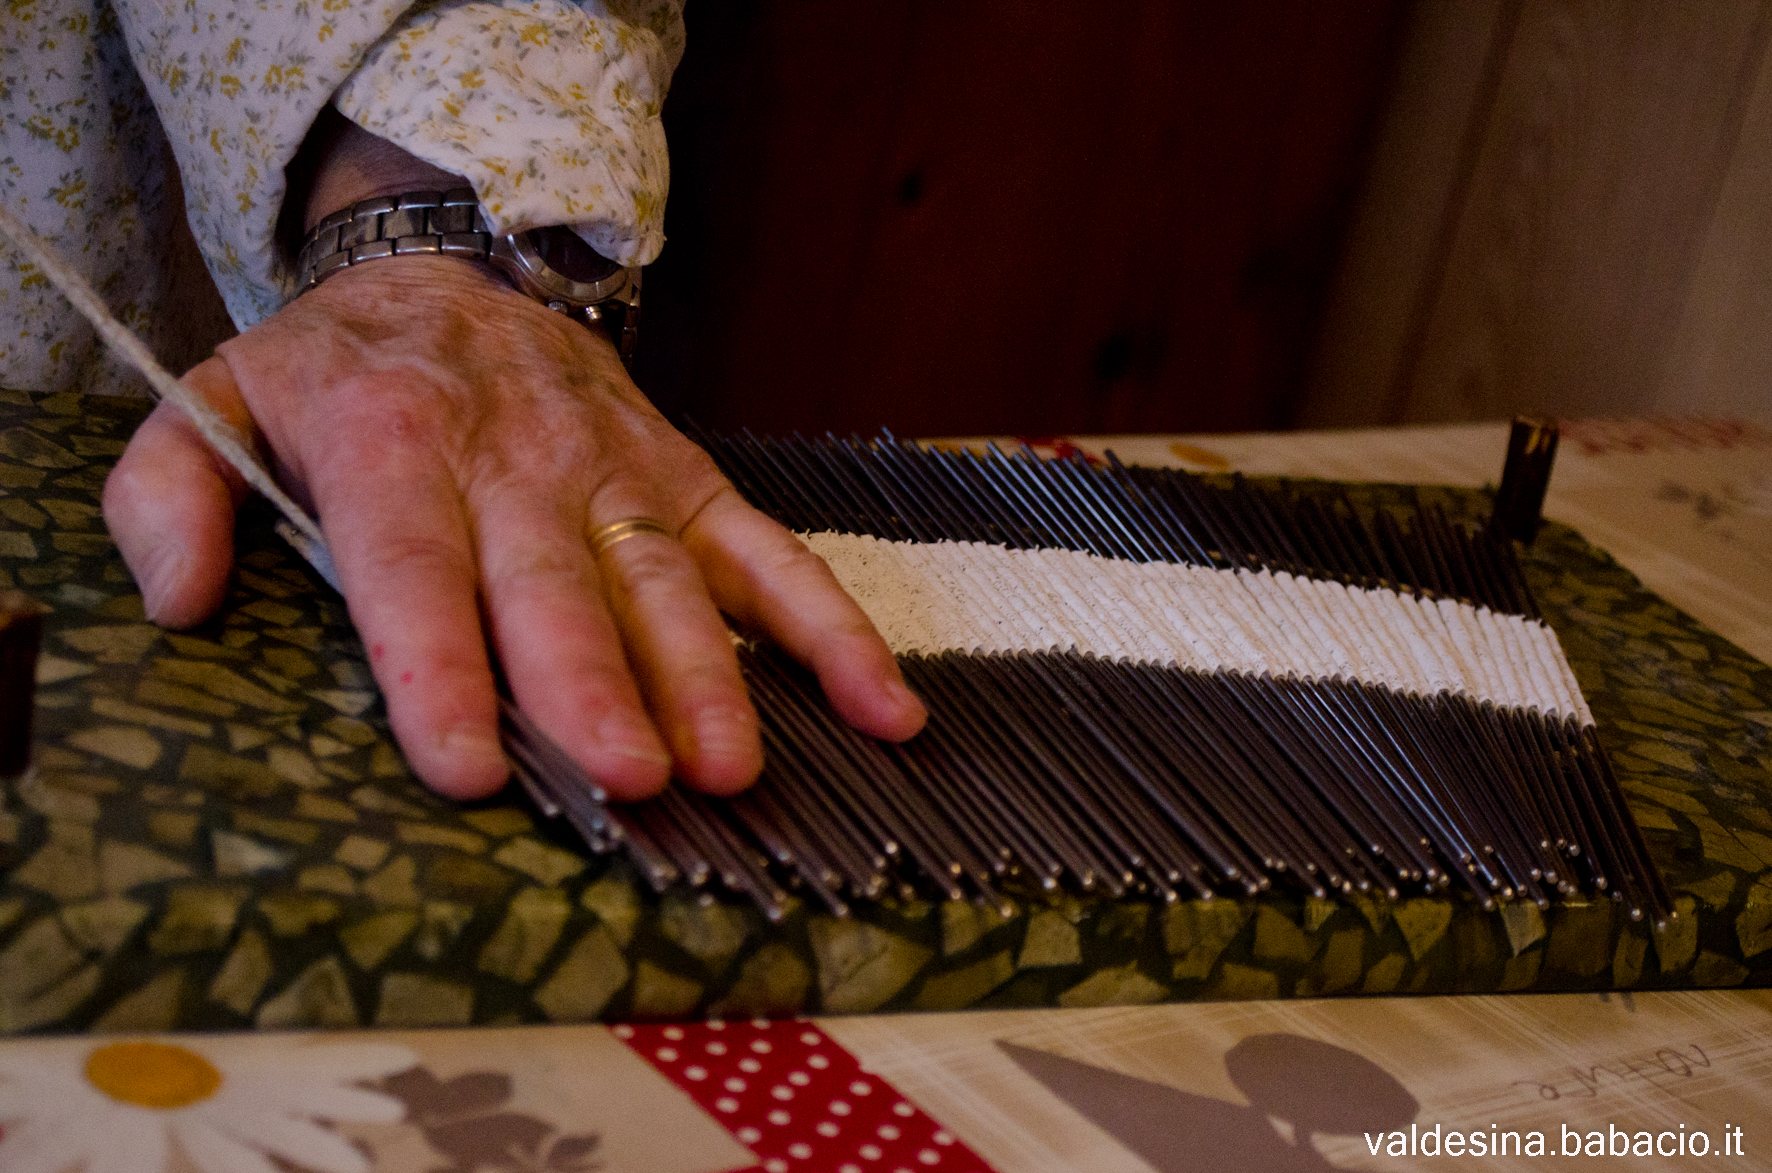
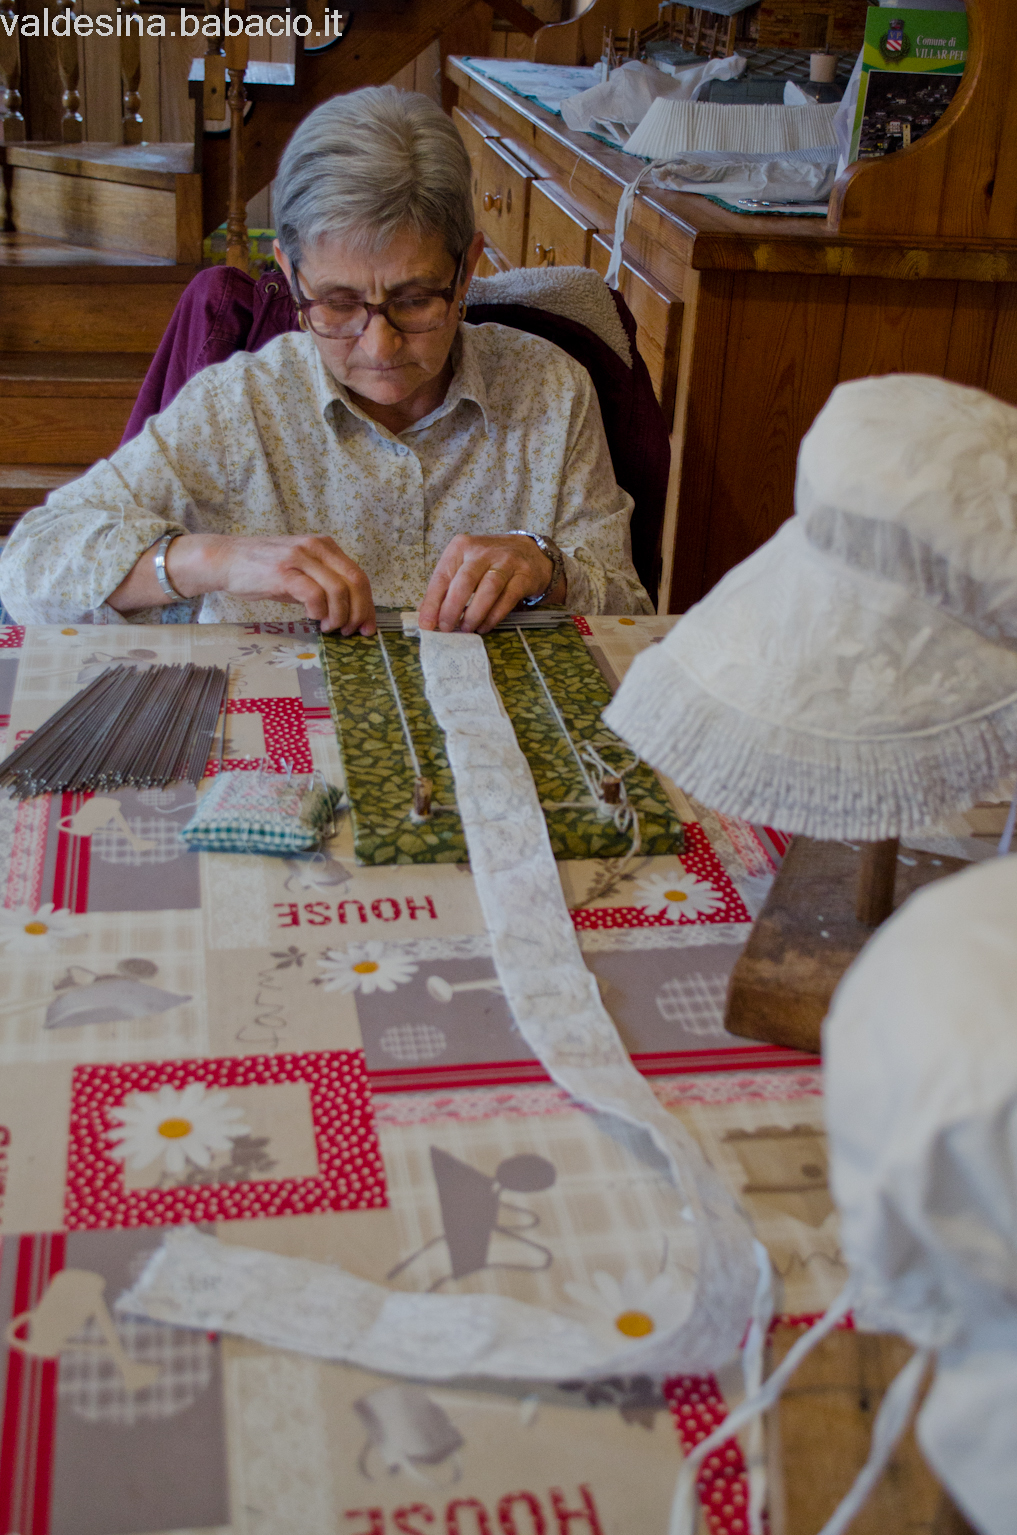
Now you must procede with the pleating of the lace on the front (and most characteristic part) of the bonnet. To realize the folds knitting needles are used, together with a special wooden tool with a cord that holds still the needles and keeps stretched the object.

A lace strip is folded in two, and then 130 to 150 bars are passed above and below it (alternatively). Then the object is taken off the wooden tool and, by pulling one end of the rope that holds the needles still, the strip of lace turns into many rufles. It is then moistened and ironed to fix the pleating and the ruffles. The needles are then pulled out and it is waited for the lace to get dry. The entire operation must be repeated for the other two strips of lace.
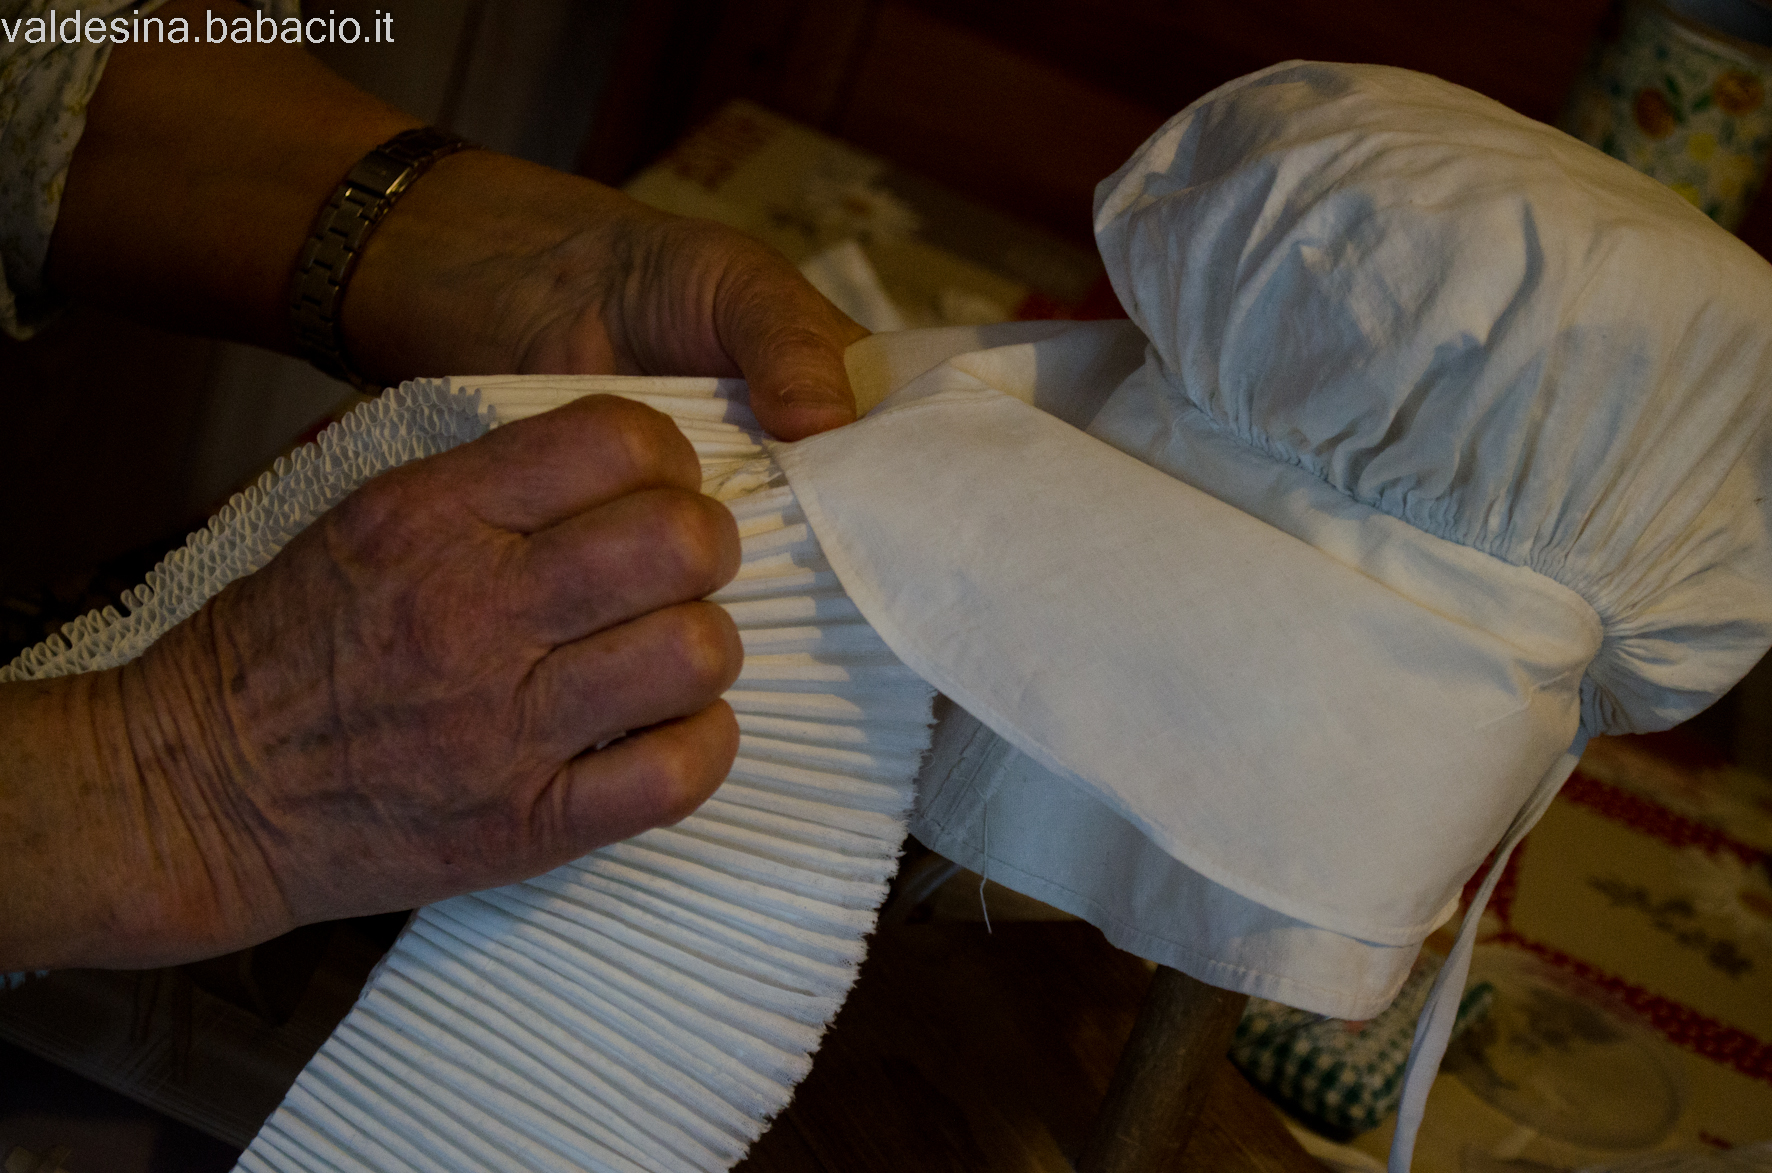
The three layers of lace should be sewn on one another, so that each ruffle fits with another: the band for the front part of the bonnet is ready and now needs to be applied in between the two pieces of cloth that had been prepared at the beginning. The bonnet is now complete!

Bonnets can be in various sizes (depending on the size of the head of the person who’s gonna wear it, of course!), and they can change according to personal preferences (for example, by picking up the pleated lace on the front side).
There are also smaller black bonnets that are worn by young girls.
Consider that it takes two entire days’ work to make a Waldensian bonnet!
In the end I really would like to thank Mrs. Piera for her kindness and availability… and I really would like to reveal you that she is also a valuable shawls embroidered (I showed you an example recently right here): if you are curious to see her creations, you can go and visit her daughter Monique’s studio at “Le magie del filo”, 2 Jervis Sq., Villar Pellice, Turin.
Well, that’s all for now, but I realtà would like to wish you a Happy Easter… do not eat too much chocolate and make many walks following my adventures! Cheers!
Do you want to read the tale in Italian ?